Search This Blog

Showing posts with label Valentine. Show all posts

Monday, February 22, 2021

A Belated Valentine

 Two consecutive quarantines knocked my schedule (and my health) for a loop, but I did manage a little stitching. Lolli and Grace's Floral Heart:

I'm loving her signature mix of bright colors, embroidery, and tiny felt details, and I plan on stitching more.

Fun with cutter quilts!


 I added buttons, bits of lace, and embroidery to the cut-outs, sewed them to backings, and stuffed them. I think I will give away the hearts to family members, but the lips are my favorite and I'm keeping them.

Thursday, February 14, 2019

Three of Hearts

I planned to make only one heart this year (I have a lot going on), but it quickly turned into three.
The crochet heart was a free pattern from Fresh Stitches, and perfect for the small skein of pink yarn I had.

The mixed media heart is from the latest issue of Quilting Arts. I layered different yarns and scraps on a fabric heart, covered it with netting, and secured it with machine stitching. I then beaded and embroidered the top, sewed on a backing heart, and stuffed it.

The last heart is made of beaded filet stitch from The New Beadweaving by Ann Benson. I'm glad I tried this new stitch (based on filet crochet), but it was pain to work with.

May this next year be filled with more love for our fellow man.

Friday, February 13, 2015

Lots o' Hearts

I took the two beaded hearts from last year and attached them to a third heart, made from even bigger beads:

A felt Scandinavian heart basket (I need to fill it with something):


A simple heart pendant, pattern from the Purl Bee:

I quilted and finished the heart quilt:
Rather than my usual faux binding, I decided to practice with a real binding made from bias strips I cut myself.  And ... I need the practice.  There are some unfortunate lumps and tucks, partly from last of skill, partly from rushing to finish while the baby napped, and partly from using a batting I don't normally use.  Oh well.

Monday, February 24, 2014

Heart Sampler

I've been working on this project on and off for a few years; every February I'd sew one or two heart-themed squares.  This year I sewed one, and then, deciding I was ready to finish this, pieced them all together:

Close-ups:
The heart made of yo-yos (the link includes a little tutorial for impromptu free-hand yo-yos) was the first square I made; I got the idea from American Patchwork & Quilting's Febuary 2008 issue, from a quilt designed by Tonee White.  The two little squares are just little doodads I put together -- a heart-shaped yo-yo and a beaded heart for the top one, and three crocheted squares and a tarnished glitter heart for the bottom one.

This pattern also came from American Patchwork & Quilting, June2004, designed by Miriam Gourley (a beautiful quilt in soft, dusty colors).  I resized it, and in the process forgot about the border, which is why the hearts are so small against the background. I explain the applique technique here.

This one was inspired by yet another pattern from American Patchwork & Quilting, this time the April 2002 issue.  The designer (Tonee White again) had a five by five grid of different motifs; I used the hearts but added a simple felt flower and a button bouquet. I plan on quilting a horizontal and vertical axis in contrasting perle cotton, as was done in the original; I'll probably also quilt the rest of the piece that way.

This square came from a pin I found on pinterest; the original pattern is here.  I tweaked the measurements a bit to get a square, and added a border to get it to the right size.

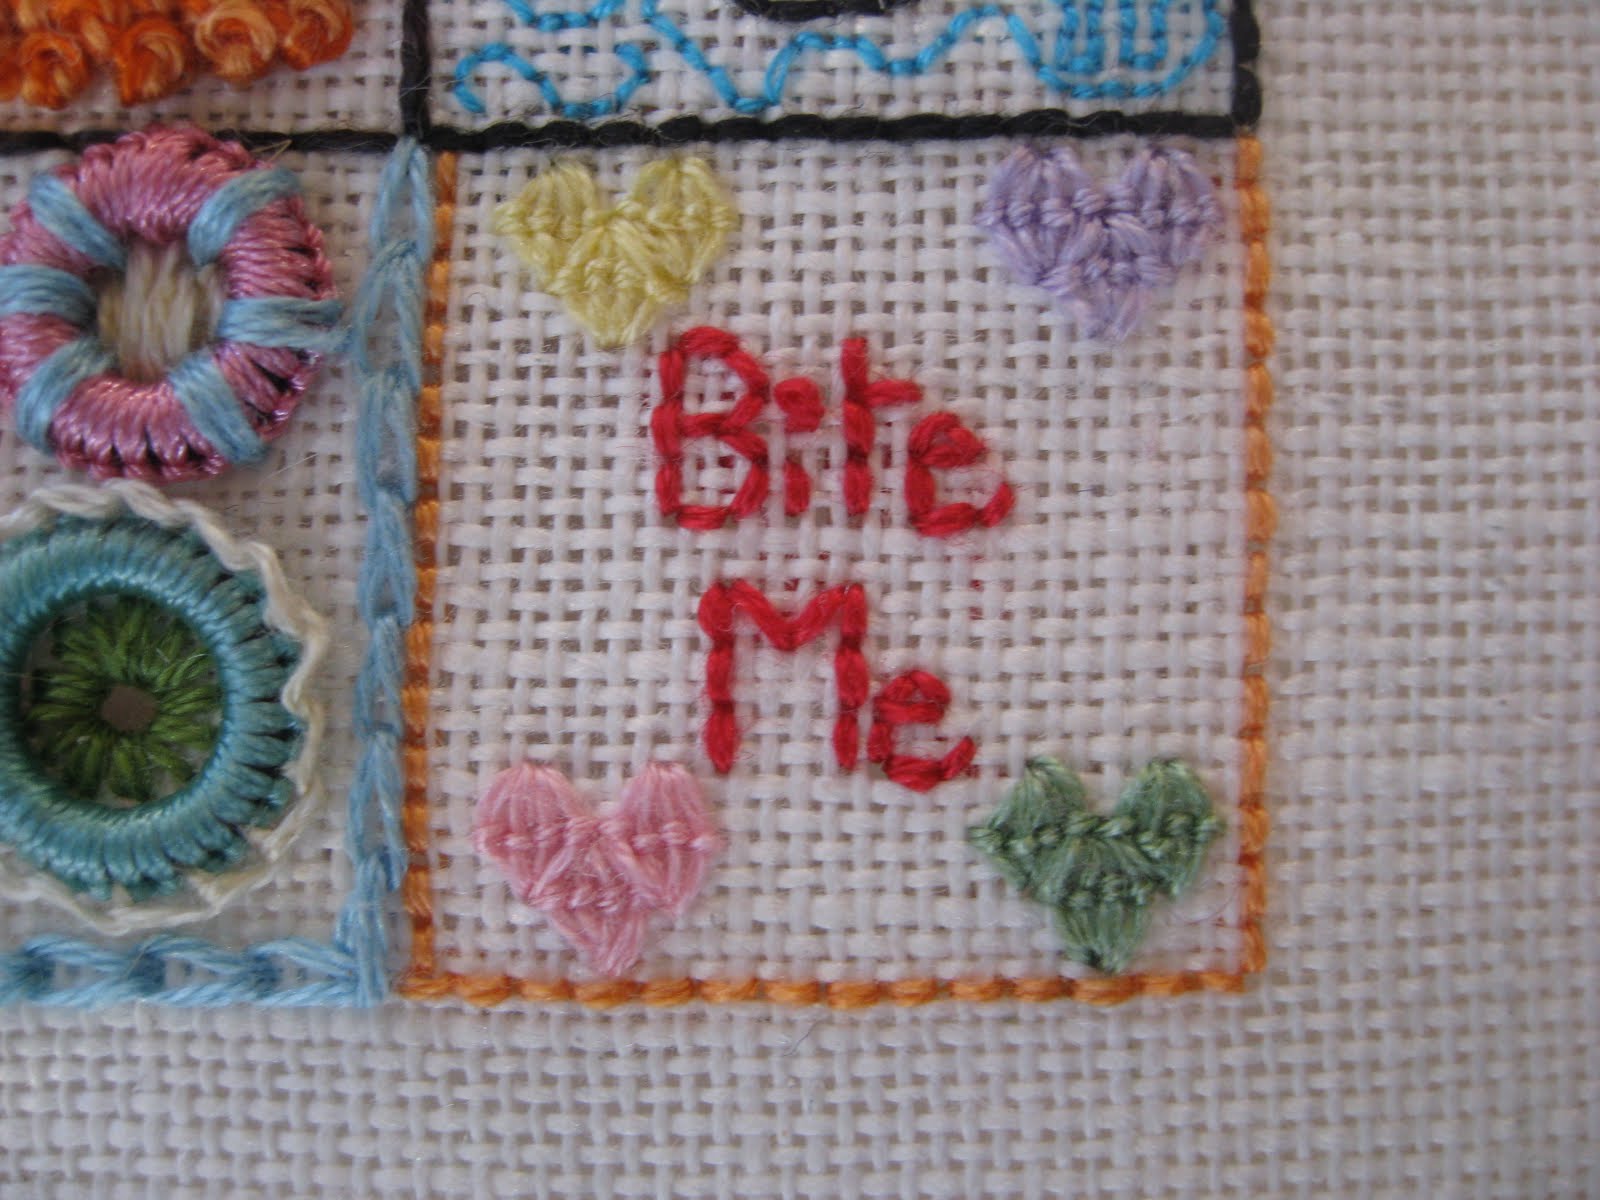
Once I started putting together the different squares, I realized I needed one more 3" by 6" (finished) block.  I quickly whipped up a crazy rectangle using fabrics from the other sqaures, and used ecru perle cotton in three sizes to embroider the seams.  I tried to incorporate a heart motif in each one; in the process I developed a chain stitch variation that looks like a row of hearts; I may fine-tune it and write about it later.

It feels good to have put the top together.  I will probably set it aside for now, and quilt it next February.

Thursday, February 13, 2014

Hearts Galore

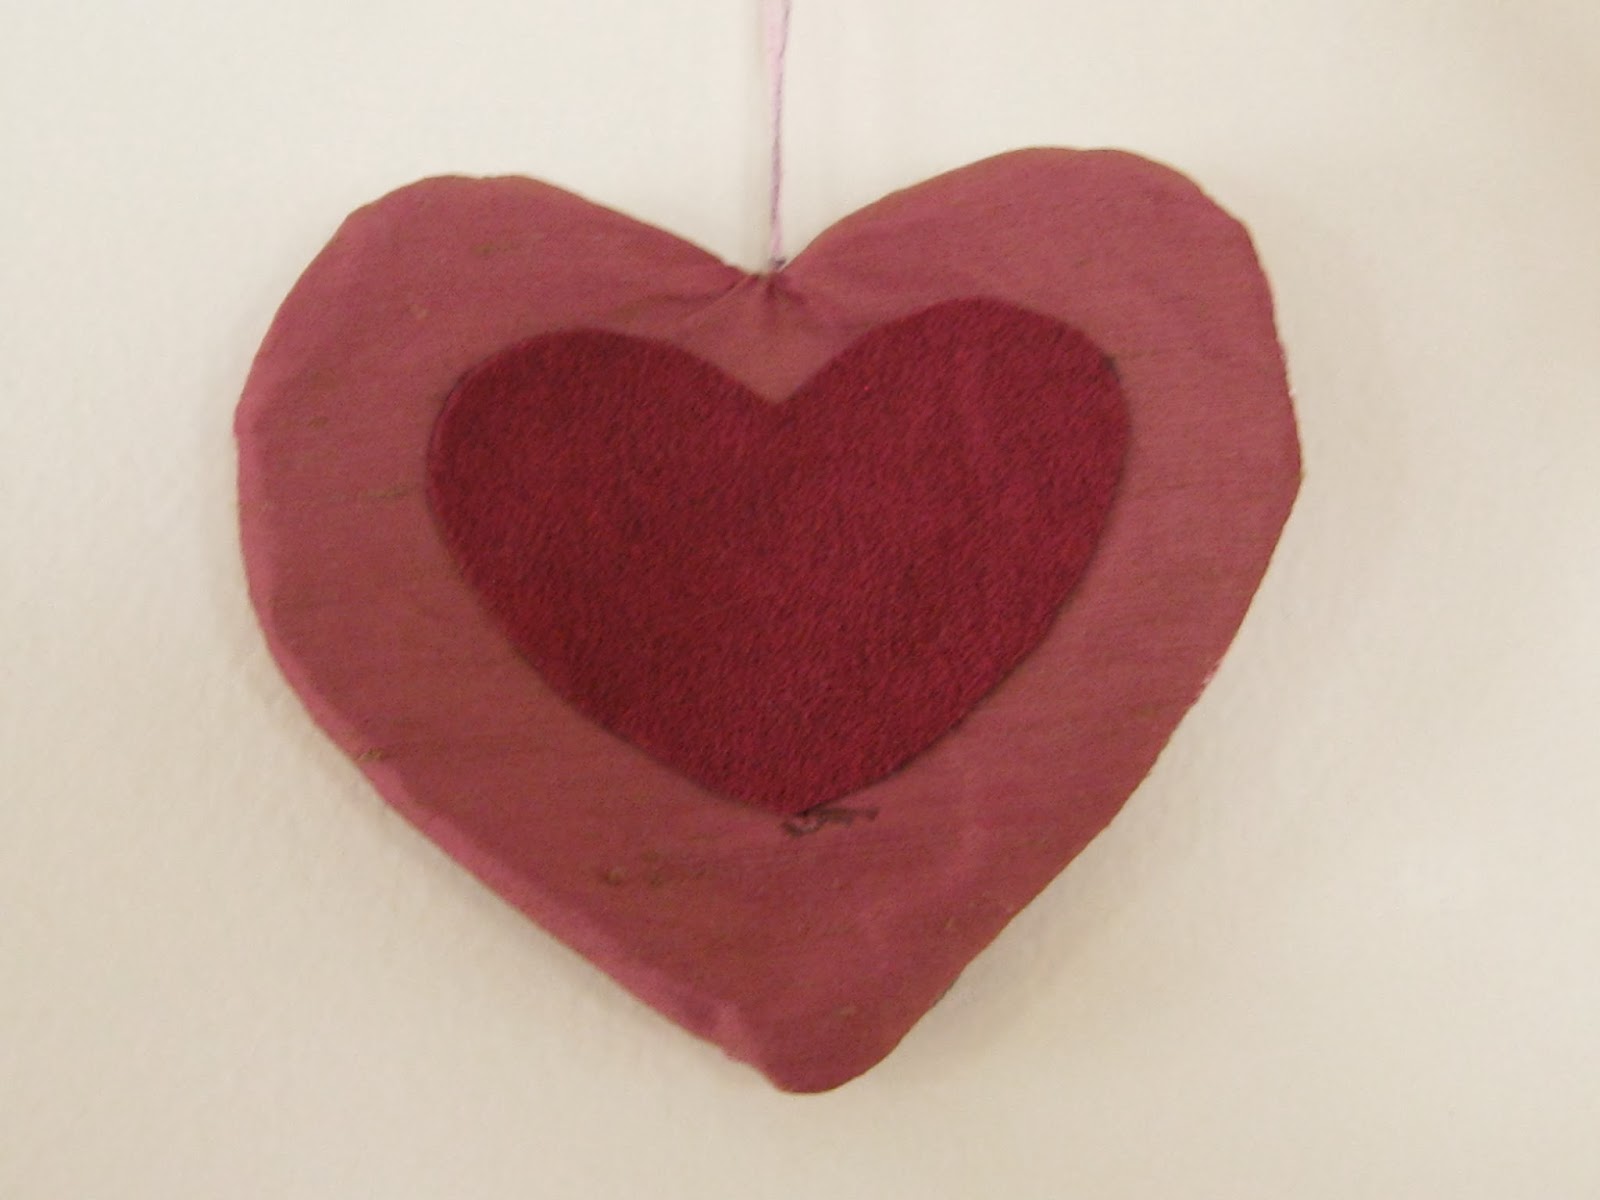
Heart of Hearts, designed by Barbara Richardson, from the Jan./Feb. 2008 issue of Needlepoint Now.
The original design called for white and gold threads, but I don't care for that combination, so I used Caron Collection threads (Waterlilies and Wildflowers) in Cherry Cordial, and pink Kreinik braid.  Because so much of the background is exposed in this design, a plain white canvas would not do.  I mixed together red, purple, and white acrylics to get a mottled pinky-purple color, watered it down quite a bit, and sponged it on.

To finish it, I backed it with silk and sewed it on the machine (twice, for extra security).  To get a neater finish and to avoid having to slip stitch the canvas closed, I sewed around the entire heart with no gap for turning.  Instead, I cut a slit in the center of the silk back to turn the stitching right side out, and then glued on top of the slit an ultrasuede heart.

For the Beadboys' classes, rather than sitting with them to make individual valentines for each classmate, I made heart cookies inspired by this pin:
For the cookies I used my go-to chocolate cut-out cookie recipe from Everyday Food, by far the best and easiest version.  For the pink frosting (yes, it is very pink, the camera washed it out for some reason) I used store-bought and added red food coloring; it was rather bland (next time I'll add vanilla or something) but the kids won't care.  For the piping -- this was the best part -- I used a frosting gun I bought ages ago.  It was so easy!  I've tried cheap pastry bags, good pastry bags, and ziploc bags before but I could never get the hang of it.  This was awesome, almost as fun as my cookie gun.

I was compelled to make these:
I don't know why, and I don't know what I will do with them.

Tuesday, December 31, 2013

Fabric and Wire Mesh Ornaments

These ornaments, by Diane Nuñez and in the Quilting Arts Gifts 2010/2011, are made the same way these flowers were: strips of metal mesh and batting wrapped in fabric and machine-quilted, then manipulated into various shapes.

A tree, with sequins and beads:

A snowflake.  For this one I strung plastic and glass beads on the inside, to emphasize the snowflakiness:

A star (which I may or may not embellish):

A cutting error left me with an extra mesh strip, so I covered it in pink fabric and played around with it until I got a heart shape:
I sewed a bit of lace onto it, and am pondering more embellishments.  It will join my heart collection (which apparently I have not blogged yet).


Thursday, February 14, 2013

Tuesday, February 12, 2013

Stitched Hearts for Grammy and Abuelita

Beadboy2 had been asking for a while to do more stitching, so I set up the hoop again with another piece of burlap and some purple yarn (his favorite color).  On his own, he decided to stitch the outline of a heart, and then I showed him how to fill it in with more stitches.  He then stitched another one in red, one for each grandmother:

He wanted to cut them out right away to mail them, but I explained they would fall apart without a backing.  I pinned the burlap to a piece of tan felt and machine-sewed around the hearts a couple of times to secure the fabric; a walking foot kept the coarse weave of the burlap from shifting under the needle.

The results:

I mailed them off to Grammy and Abuelita, along with paper valentines from Beadboy1.

Tuesday, February 5, 2013

Crafty Round-Up

A couple of finishes, first:

This garland I started years ago, by gluing pairs of felt circles onto a length of lace trim.  I spent the next few years whip-stitching the circles closed, a few at a time and even while it was on display, when it occurred to me.

I finished this heart sampler by doing a modified nun's stitch around the edge:

Inspired by the adorable embroidery designs in Aneela Hoey's Little Stitches and a patchwork and embroidery quilt in Alicia Paulson's Embroidery Companion, I embroidered this little kitty:

and these little birds:

Sunday, January 27, 2013

Gingham Hearts

This kit came from one of those British cross-stitching magazines, I forget which.  The instructions had one cross stitching on the gingham (duh), but I thought I'd try some chicken scratch stitching, which I learned about from Alicia Paulson's Embroidery Companion (a great book, by the way).

Only, I didn't take into account how tiny this gingham is -- at least sixteen squares per inch, when most chicken scratch is done on 1/4 inch or 1/8 inch gingham.  I used just one strand of floss and spent a lot of time with the hoop just a few inches from my face.  Three of Paulson's diamond motifs created too tiny a heart, so I expanded the design using this heart pattern (that site also has some info about this style of embroidery).
The effect of the loop stitches is pretty neat; there's a reason why this stitch is also called Depression Lace or Amish Lace.  I recommend a Flickr search to see all sorts of nifty patterns.

For the second heart I took the easy way out and just sewed on some pink seed beads:
The resulting texture is great, and fun to play with.

The hearts, all sewn up:
The chicken-scratch one came out kind of lumpy and misshapen, because the not-high-quality fabric slid around while I was sewing it.  For the beaded heart I basted the fabric to the felt backing first, and that worked much better.  In both cases, I forgot to sew in the ribbon hangers, so I had to tack those on later.

Monday, January 21, 2013

Silver Stitches

Ok, so it's a little late, but I did finish one last ornament -- Charlotte's Web Needlework's "Silver Stitches" from the 2008 Just Cross Stitch Ornaments mag:
I'm a sucker for anything with a variety of stitches.  I finished it in yet another wooden hoop, but to dress it up a bit I wrapped the outer hoop with a fuzzy white yarn from Beadmom's stash.

And now I can move on to other projects:


Friday, February 10, 2012

Impromptu Heart Sampler

On Wednesday I had to teach Beadboy2's kindergarten class a craft, so of course I chose embroidery. Like embroidery I've done with Beadboy2, I used plastic needles (ordered really cheap online!), burlap, and wool thread. To save time and frustration I threaded and knotted the needles beforehand, and even knotted the thread to the needles to avoid having to rethread them. The demonstration was a success, in that the kids had a lot of fun, and the results were varied and tangled and crumpled and cute.

On the train ride into the city after, I realized I had a scrap of burlap and some wool thread left, so right on the train I started a little sampler:
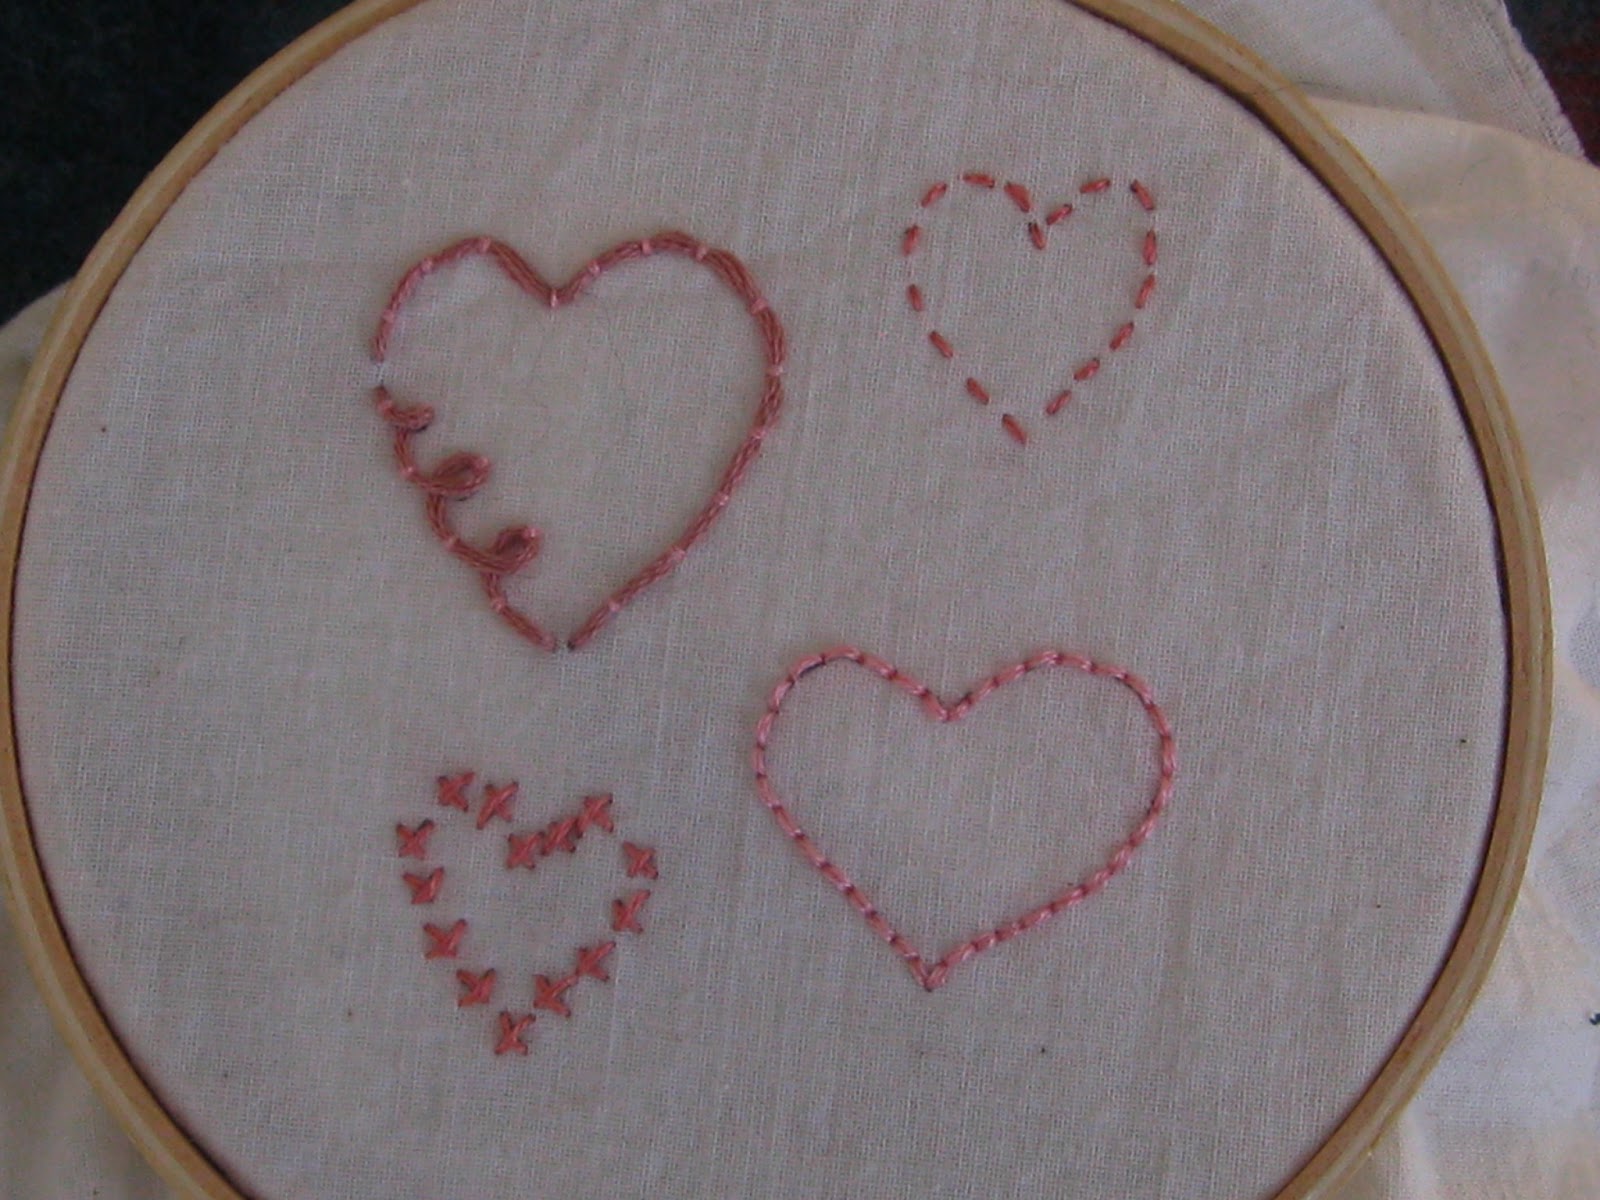
I used a variety of techniques: cross stitch, couching, fly stitch (hat tip to Wild Olive), detached chain stitch, queen stitch (it forms a blunt diamond, and three nested together make a pointy heart), rhodes stitch, back stitch, french knots (a miniature version of a french knot heart I made ages ago and which I will blog about at some point), and satin stitch.

Monday, February 14, 2011

Lots of Hearts

Over the past couple of weeks I've finished a few more squares for the heart sampler.

A heart-shaped yo-yo on a three inch square:

Three little crocheted squares I sewed together and topped with a glitter heart (doodads I picked up at various times):

Hearts appliqued onto a snowball block:
This pattern came from an old issue of American Patchwork and Quilting. I modified the size to turn it into a 9 inch (finished) block (and, in the process, forgot about the border I was supposed to attach, resulting in a background that was a little bigger than it was supposed to be). The hearts, which are kind of puffy, were appliqued in a non-traditional manner. I placed to rectangles wrong-side together and stitched the heart shape, then cut a slit in the center of one side and turned the heart right-side out, before appliqueing it to the background. Doing it this way allows for smoother curves (although, only as smooth as one can sew, as a close-up of my work will show) and a dimensional quality.

Finally, because Valentine's day shouldn't be too sweet:
I used queen's stitch, three of which together form a nifty little heart.

Sunday, January 30, 2011

Hearts and Yo-Yos

While going through magazine patterns looking for the Hawai'ian applique, I realized I have quite a few heart patterns. I thought it might be nice to piece a bunch of these together to form a sampler. So they'd all fit together well, the squares (or rectangles) will have sides whose lengths are multiples of three.

One pattern had an elongated heart made from yo-yos. I made 14 1 inch yo-yos and sewed them onto a rectangle 3.5 by 6.5 (unfinished):
I love yo-yos. They are fun to make, versatile, and retro. To make a yo-yo, you could buy a two-piece plastic yo-yo maker that will tell you where to cut and where to sew, but why add more plastic to the planet? (I will confess I have the plastic doodads to make flower-shaped and heart-shaped yo-yos, because those are tricky to do freehand.)

You could break out your compass from Geometry class and draw perfect circles onto your fabric, or even make perfect templates in every size you might want, but that's a lot of perfection for yo-yo making, which is not an exact art.

You could do what people did decades ago, which was to grab cups and saucers and cans and use those as your templates.

But what if you are as lazy as I am, and don't want to go get up off the sofa? My "technique" is adapted from Alton Brown's tip for cutting a parchment paper circle to line a round cake pan. Cut a square with sides that are roughly double (a little bit more if you are hemming the yo-yo) the diameter of the yo-yo you want (no need to use a rotary cutter and ruler for this -- freehand it):
Fold the square in half, and then in half again:
Fold it along the diagonal to make a triangle:
Fold it in half again (and again if you can manage it), forming a wedge shape and keeping the center point in your fingertips:
Now with scissors trim the top of the wedge to even up the outer edges:
This will be the circumference of the circle; if the circle is small (as is mine, with a 2 inch diameter), trimming in a straight line will be good enough. For much larger yo-yos, you may want to trim the top in a gentle arc, mimicking the arc of a circle, or your final shape will be more like a hexadecagon.

Unfold, and you have a rough circle, ready to sew:
Now just sew it as you normally would to make the yo-yo. If you've never done so, it is quite easy. Fold in the edge (or don't, I often make yo-yos with raw edges) and begin a running stitch around the circumference:
Once you get back to the starting point, gently pull the thread on either end to gather the circle up:
Pull tight to close the center, and knot and trim the threads. Pull on the gathers a bit with your fingers to shape the yo-yo if necessary. You're done!