I'm very pleased with my Advent Calendar, but like secular calendars it has only 24 squares, corresponding to the days of December before Christmas. I'm trying to teach the liturgical calendar to the kids, however, and that means celebrating the actual Advent season, which this year starts today. I'd been meaning to make extra squares for those years Advent starts in November, and this year seemed the perfect time to start, since I'd only need to make one.
But what design? I pretty much exhausted my repertoire of secular and religious Christmas symbols I like. A little bit of research, however, reminded me that December 12 is the feast day of La Virgen de Guadalupe, a big deal both for Latinos and Americans in general. Perfect!
Because I am not nearly skilled enough to replicate the image in thread or pencil, the original plan was to sew a prayer card onto the felt square, but although I have a gazillion prayer cards stuffed into a cigar box, La Virgen wasn't one of them. Then I remembered I had actual fabric printed with her image, which was even better. I snipped out her likeness and attached it to the felt using gold thread and straight stitches to mimic the rays around her. A few ribbon roses finished it off.
I wanted her on the twelfth day -- of December, not Advent, so the twelfth square on the main calendar section, and this sounds ridiculously complicated just typing it -- so I removed the square in that slot (a poinsettia) and sewed it on. The poinsettia moved to the first slot, because the original square there, an Advent wreath, I want to always be first. That I moved to a new panel designed to hold the extra "November squares":
Makes sense? Of course, I now have an issue when Advent starts December 1, 2, or 3 -- the main calendar will suffice, but it won't have the Advent wreath square. I'll deal with that in 2017.
Search This Blog
Sunday, November 30, 2014
Friday, November 14, 2014
Button Cuff
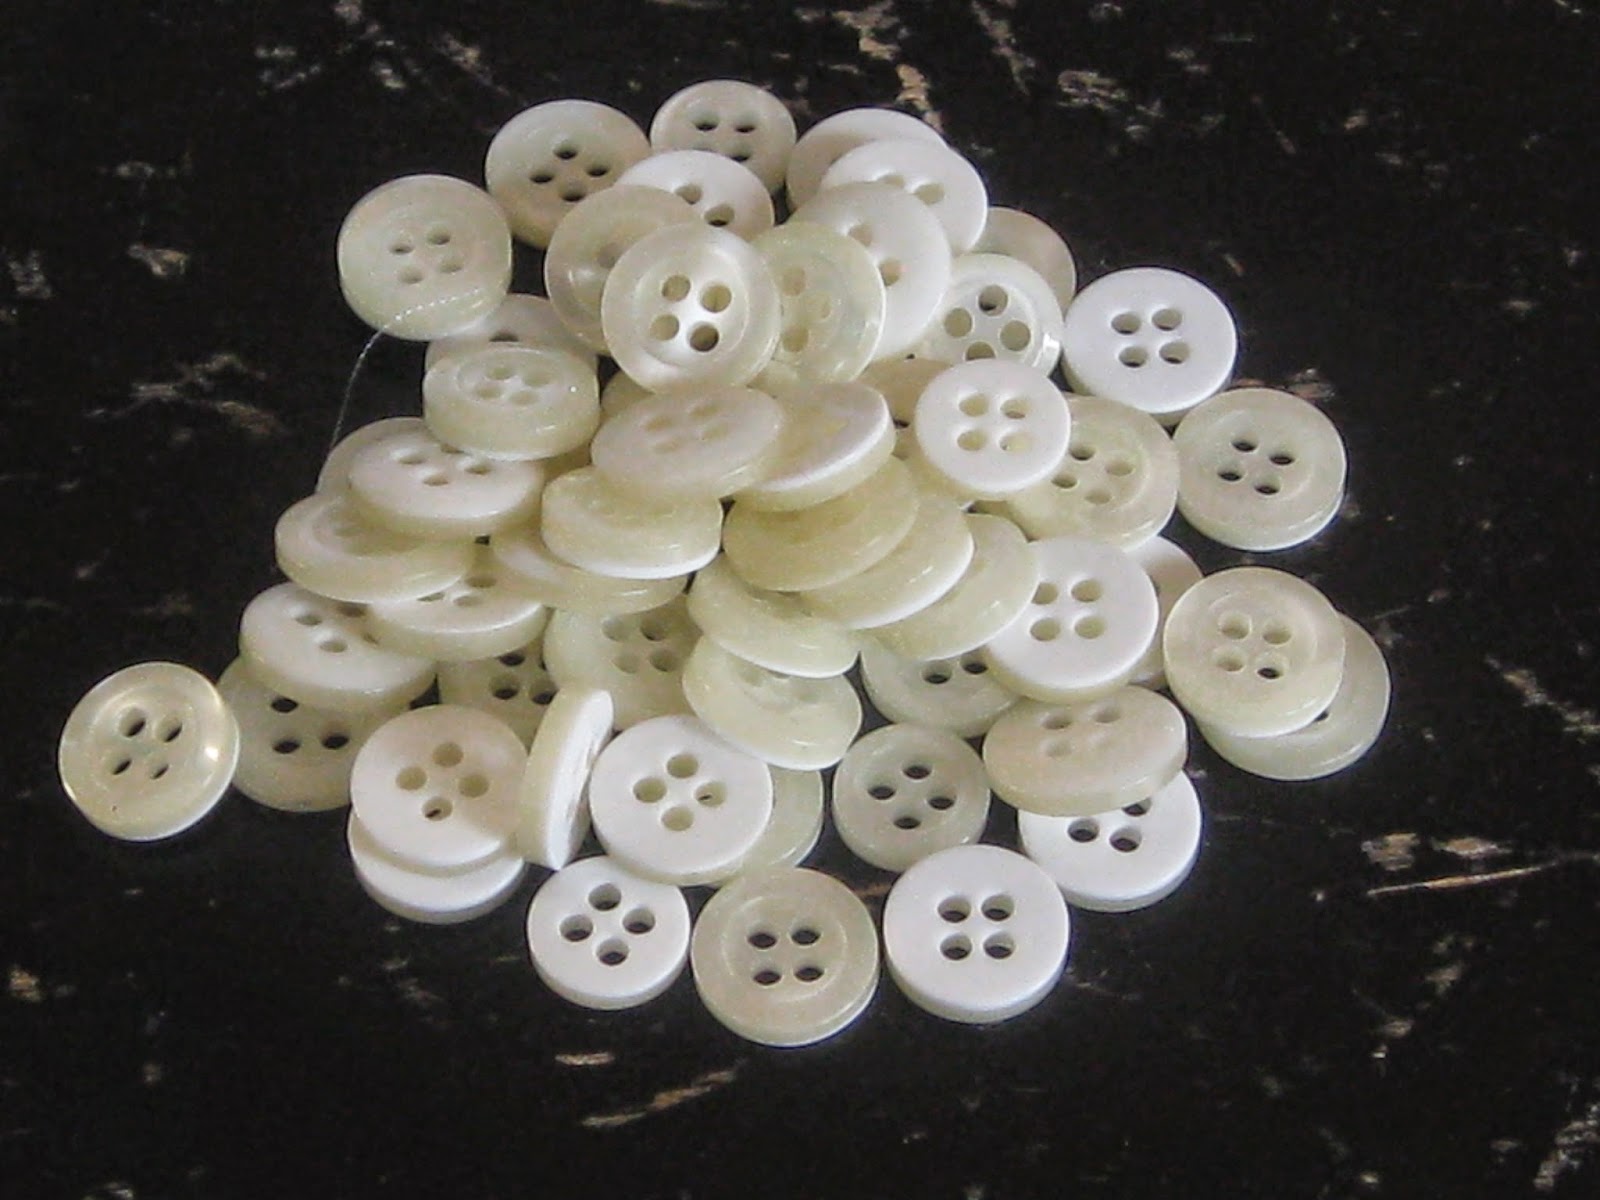
The idea came from Craftstylish's Woven Button Coaster project. I don't have much use for coasters, but I saw that the pattern could be adapted easily to make an awesome bracelet, using shirt buttons from Mr. Beadgirl's worn-out dress shirts.
The first step was to weave together a row of buttons long enough to go around my wrist:
I made two more (odd is better than even) and wove them together:
Done!
But the result was plainer than I expected, and the bracelet cried for some embellishment:
Sewing on the extra buttons had the added value of stabilizing the bracelet, because the buttons tended to shift three-dimensionally (by which I mean they tended to overlap each other rather than staying on the same plane).
For the clasp I sewed a shank button on one end, and made a seed-bead loop on the other:
I love it. It's super comfortable to wear, too:
Tuesday, November 11, 2014
The Last of the Fall Crafting (I Think)
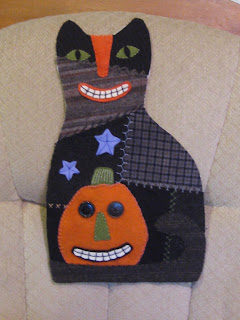
I started this cat last fall, and finished it up a few days ago:
L",i76vjn
It's by the same company that did the Easter Bunny,
Buttermilk Basin, and this is the October pattern (duh) of "My
Wool-Crazy Year." I changed the eyes a bit, using buttons for the
pumpkin and a more traditional shape for the cat eyes; I also omitted
the moon because I thought there was enough going on. Now I just need
to find a big piece of wool to back it.
An owl:
I
stayed up late Friday night to make this guy, and regretted it when
Beadboy3 chose that night to be awake between 12:40 and 3:00. I did not
get a whole lot done Saturday.OL",i76vjn
(Speaking of, that's his contribution to the post.) The pattern is from the 2010 issue of Crafts 'n Things.
Tuesday, November 4, 2014
Pumpkins
This velvet pumpkin came from I forget which year of Better Homes and Gardens' Holiday Crafts:
I actually made it about a month and a half ago, but was waiting for Mr. Beadgirl to cut a segment of tree branch for the stem. I don't have the heart to ask for a more viney-looking stem, but I didn't glue it in, in case I can find a better one next year.
This pumpkin pincushion came from pinterest:
There are no written instructions for the pumpkin, just pictures, so I have a bit of advice -- after sewing and stuffing the form, when taking the first stitch through the center and pulling tight to create the indentation, make a knot to keep the thread from slackening. It was also helpful to make a knot after every couple of stitches creating the ridges. This stem is DMC memory wire, folded multiple times and twisted, and tacked into place.
Subscribe to:
Posts (Atom)


